ADFS SSO
Access Required
You must be a workspace Admin to access the SSO/SCIM page and enable SSO in Guru.
Setting up ADFS SSO
- In the ADFS Management Console, create a new Relying Party Trust.
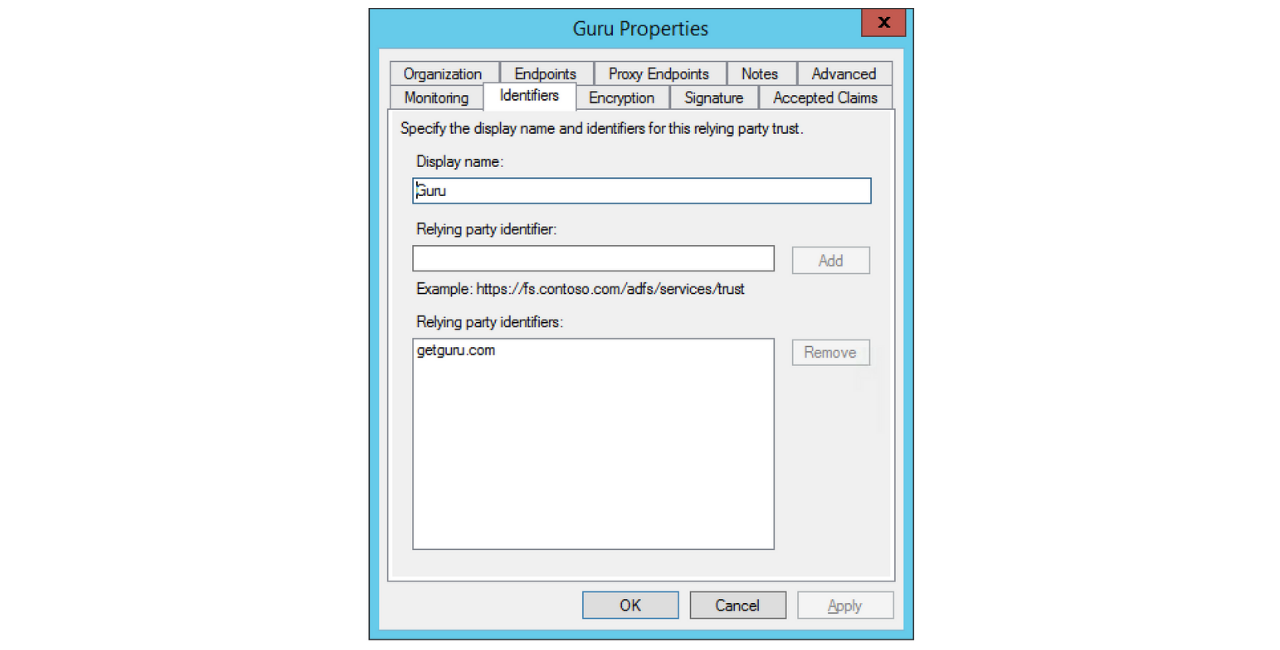
- On the Identifiers tab, enter your Display Name and then add a Relying party identifier of
getguru.com/xxxxxxxx-xxxx-xxxx-xxxx-xxxxxxxxxxxxwherexxxxxxxx-xxxx-xxxx-xxxx-xxxxxxxxxxxxis your Team ID (which you can find on your SSO/SCIM page.)
- On the Endpoints tab, click the Add SAML... button
- On the following screen, choose the Endpoint type of
SAML Assertion Consumer, Binding ofPOSTand for Trusted URL enterhttps://api.getguru.com/samlsso/xxxxxxxx-xxxx-xxxx-xxxx-xxxxxxxxxxxxwherexxxxxxxx-xxxx-xxxx-xxxx-xxxxxxxxxxxxis your Team ID.

- Then click OK on this dialog and OK again to save.
- Click on Edit Claim Rules... and on the
Issuance Transform Rulestab, clickAdd Rule... - Choose the
Send LDAP Attributes..claim rule template. - Click Next. Enter a claim rule called
Guru Attributes, usingActive Directoryas the attribute store. - Then, add mappings for LDAP Attributes as shown in the screenshot below:

- Click OK to save and then add another rule.
- This time, choose the
Transform an Incoming Claimrule template and click Next.

- Enter a rule name of
Email to NameIDand set the incoming claim type toE-Mail Address. - Set the outgoing claim type to
Name IDand the outgoing format toEmail. - Click OK to save.

At this point, your claim rules should look like the following screenshot:

- Click OK to save.
- Once completed go to your SSO/SCIM page and follow STEP 2 in these instructions, which detail how to fill in the fields for:
- x.509 certificate
- the Identity Provider Issuer URL (ie,
https://sso.yourcompany.com/adfs/services/trust) - Identity Provider SAML Endpoint URL (ie,
https://sso.yourcompany.com/adfs/ls/IdpInitiatedSignOn.aspx)
Updated 8 days ago